How to Replace a UV Lamp
How to Change a UV Lamp
 A UV light water purification system can help you keep your household safe from illness-causing viruses, bacteria, and other harmful microorganisms.
But your UV water filter will only work if you regularly change the UV lamp and clean the sleeve. Failure to change the lamp on time can put your household at risk of ingesting water that contains illness-causing microbes.
Before changing your UV lamp, it's best to refer to your system's owner's manual. There are many different UV water filter system manufacturers, and the instructions provided below are meant to be only a general guideline.
Video courtesy of Viqua
Where do I find my UV Lamp Model Number?
To find the correct replacement lamp for your Viqua UV sterilizer system, you simply need to know the system model number that starts with an alpha character. This is located on the silver label that is adhered to the UV stainless steel chamber.
Step-by-Step Instructions for Replacing a UV Lamp
If you have your new replacement lamp, o-rings, and latex gloves (optional), then let's get started. We suggest that you first watch this video which gives a good overview on what it takes to successfully change out a UV bulb.
1. Turn off water
Turn off the water supply and close all faucets. Press the pressure button to release the pressure from the cartridges cargo.
2. Unplug the power
Unplug the power. There may be an alarm that goes off as a warning. Cool System. Check to make sure the UV system is not too warm. Allow the unit to
cool for 10 minutes.
3. Determine if old or new connector
For older style lamp connector, follow steps 4 and 5. For new lamp connector, follow steps 6 and 7.
4. Carefully remove safety cap
Carefully remove safety cap or protective cover (at the top of the UV system) by squeezing the tabs, but make sure the UV lamp plug wires remain connected.
5. Remove lamp plug
- Unscrew locking screw and
remove ground and strain
relief wires. - Remove lamp plug.
6. Remove lamp connector
Put on latex gloves. By putting on latex gloves before removing the lamp or sleeve, you can protect the lamp and sleeve from oils on skin that can cause damage.
Remove the lamp connector
by pulling the tabs out and
then upwards.
7. Remove the lamp/sleeve assembly
- Unscrew locking screw and
remove ground and strain
relief wires. - Remove lamp plug.
8. Unscrew the UV lamp
Hold sleeve bolt with one hand and turn lamp counter-clockwise and pull the lamp
outside the chamber in
upward direction.
9. Unscrew the sleeve bolt
Unscrew the sleeve bolt and
carefully remove it from the top of the chamber. Note: Sleeve may be
attached to sleeve bolt. Hold sleeve with other hand while removing sleeve bolt.
10. Clean quartz sleeve
Clean the quartz sleeve with
a cloth soaked in CLR,
vinegar or some other mild
acid and then rinse with
water.
Note: If sleeve cannot be
cleaned completely or it is
scratched or cracked, then
replace the sleeve.
11. Place new o-rings & insert sleeve
Place o-ring on the sleeve and then insert the sleeve into the chamber as shown in the next step.
12. Ensure sleeve is centered
Ensure quartz sleeve is centered properly in the UV chamber.
13. Place sleeve bolt
Place new (grey) sleeve bolt onto the quartz sleeve, carefully push down and hand tighten into the UV chamber.
14. Insert and secure lamp
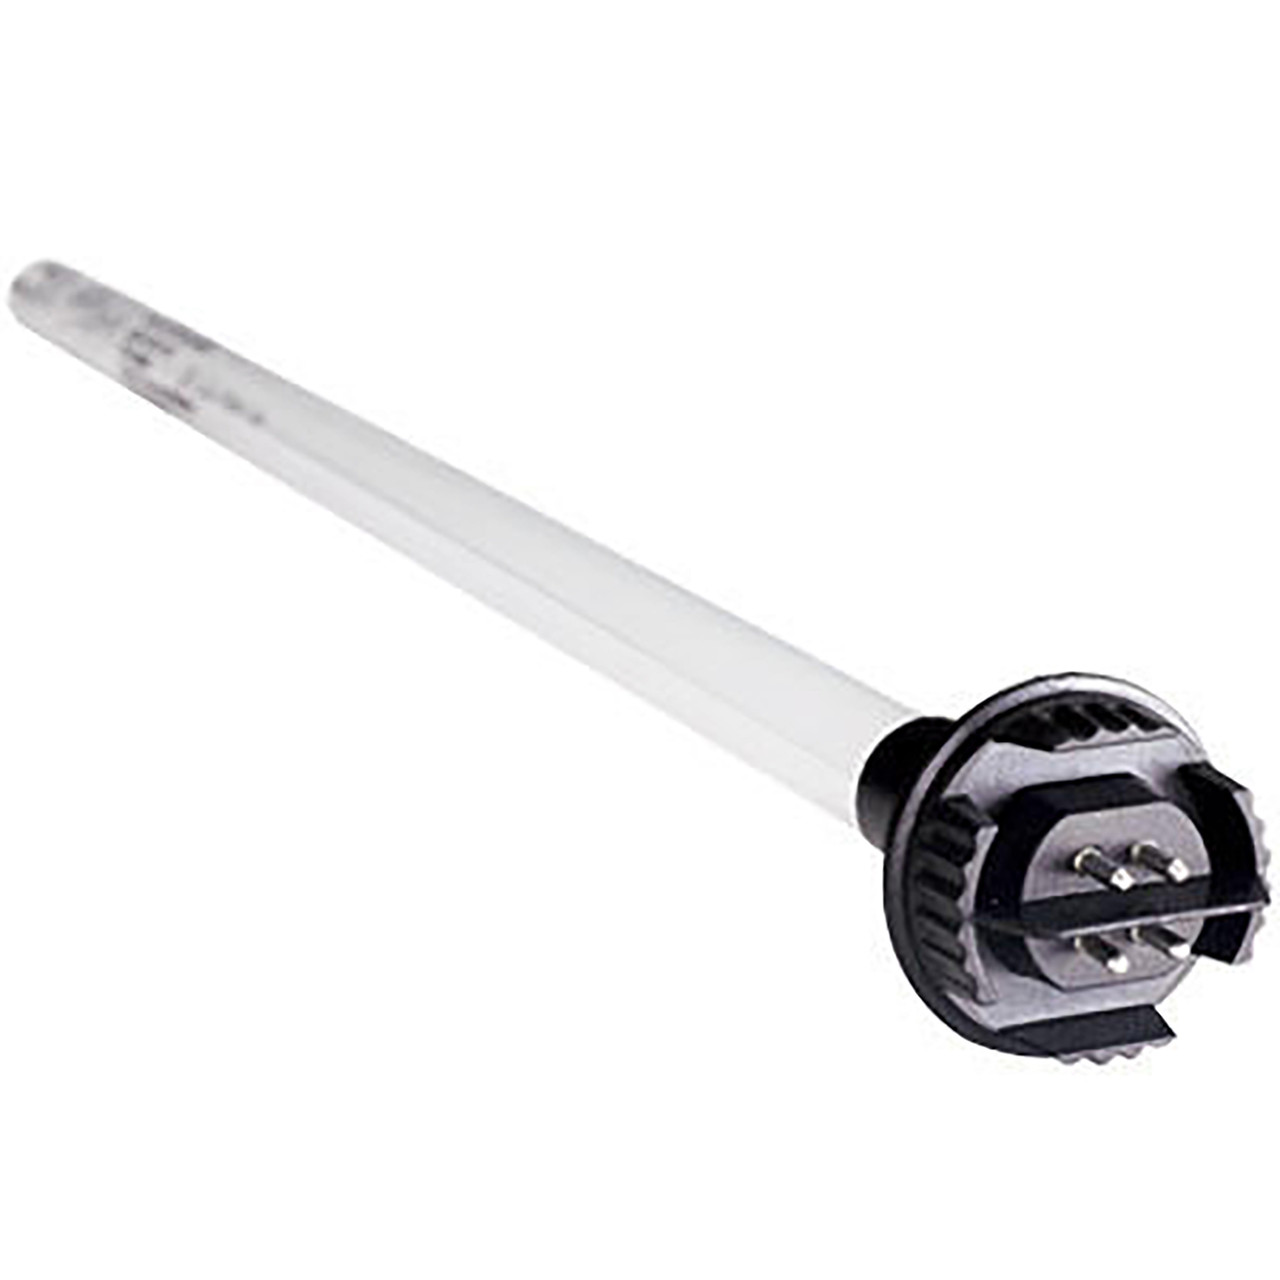
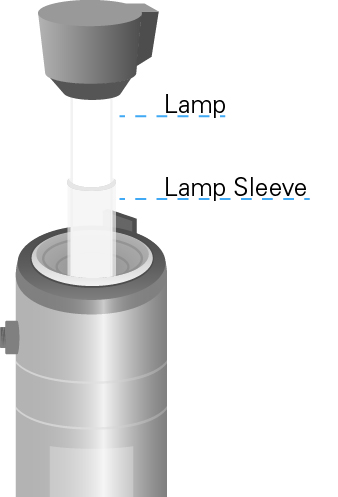
Insert new lamp into the
quartz sleeve and secure thread into
sleeve bolt until hard stop.
15. Follow old/new connections
For older style Lamp
Connector follow steps 16,
17 and 18. For new Lamp
Connector follow steps 19
and 20.
16. Install lamp plug
• Install the lamp plug.
• Attach ground and strain
relief wires from the lamp
plug to the ground lug located
on the chamber.
• Secure both wires with
locking screw provided.
17. Align connections
Align connections by rotating
ring clamp to push lamp plug
onto end of lamp.
18. Install Safety Cap
Install the safety cap.
19. Connect Ground Wire
Connect the green ground
wire and red strain relief wire
to the chamber using the
grounding screw.
20 . Align Connection
- Align connection pins with the
lamp connector by rotating
the ring clamp. - Push the lamp connector
down onto the lamp pins and
the ring clamp pins until an
audible click is heard.
Note: Ensure the connector
is engaged on both sides.
21. Open faucets and check for leaks
- Open each faucet and turn
on water supply. - Inspect for any leaks.
- Perform the cleaning
procedure. Refer to Owner’s
Manual.
NOTE: Perform disinfection procedures per your owner’s manual guidelines.
How Often Should a UV Lamp Be Changed?
 To maintain your UV water disinfection system, the UV lamp should be replaced on schedule. Most UV lamps are designed to run continuously for about 9,000 hours or 12 months before losing their effectiveness.
Unlike regular light bulbs, UV lamps do not burn out – they solarize. This means that they gradually lose their light wave intensity to about 60% of what a new UV bulb provides. Thus, it is important to change the lamp on time, otherwise, the system cannot effectively protect against viruses and other waterborne microbes.
Water is purified as it runs through the chamber, passing by a UV lamp which sterilizes the water from waterborne microbes with a special wavelength known as UV-C. Microorganisms present in the water will absorb the UV rays, altering their DNA so they cannot create infection or reproduce.
It is important to note that even if your UV lamp is still shining and hasn’t burnt out at 9K hours or 12 months, the ultraviolet bulb should still be replaced in your UV system as a precaution. As a courtesy, we send customers an email to remind them when their UV lamp is due for replacement.
Changing your ultraviolet lamp on schedule helps ensure your UV disinfection system can successfully destroy illness-causing microbes in your water such as E. coli, Salmonella, and Cholera.
At ESP Water Products, we carry lamps and sleeves for many UV brands. Check out our full selection.
Expert Tip
How to know WHEN to Replace an Ultraviolet Light Bulb?
To help you know when to replace your UV lamp, some UV systems have a "ballast" or controller that will indicate it is time to change out the lamp. The indicator may be a visual cue like a green light, an audible alarm or an LED display countdown from 365 until the replacement due date.
If your UV water disinfection unit does not have a lamp countdown, we suggest setting a calendar alarm for yourself.
A UV lamp is always protected by a quartz sleeve. VIQUA recently introduced a new sleeve bolt that holds the sleeve for the D4, E4 and F4 UV water sterilizer systems.
Benefits of this new sleeve bolt:
1. Reduces risk of misaligning the quartz sleeve.
2. Easier to distinguish between the existing sleeve bolt and lamp.
3. Requires o-ring so less likely for lamp to pop-out during install.
How to Install Viqua's New Sleeve Bolt
Watch this video for step-by-step instructions on replacing your UV lamp with Viqua's new sleeve bolt.
Frequently Asked Questions about UV Lamps
Are UV Lamps Safe?
Yes, UV lamps used for germicidal purposes in UV water disinfection systems, are safely housed within a durable 304 stainless steel UV chamber. This chamber protects against UV rays leaving the chamber. In fact, safety measures are in place so that when you go to replace the lamp, you cannot take off the bolt to open the chamber without first removing the power cord.
What Is The Difference Between Hard And Soft Glass UV Lamps?
Hard glass is pure-fused Quartz and maintains its ability to transmit UV light over a longer period of time than soft glass lamp. Soft glass lamps use a glass more like normal window glass. The UV light causes this glass to solarize and inhibits the transmission of UV light. Normally soft glass has a life span of 90 days and hard glass lamps can usually operate for at least one (1) year. We only sell hard glass lamps on this website.
If I Turn The UV Lamp Off While It Is Not In Use, Will It Last Longer?
No. It is NOT recommended to turn the UV light on and off. The cycling of turning on and off of a UV lamp that is designed to be left on at all times can cause premature lamp failure and shorten the life of your system's ballast. On average the lamp can lose as much as six (6) hours of lamp life each time it is turned on and off. UV lamps require a very low amount of electricity, so it is best to leave the UV water filter system on, even when water is not passing through it.
So even if you're away from your cottage or lake home for a few months, don't power off the system. Bacteria may be in your well water and forgetting to turn the system back on could potentially expose your household to contamination.


